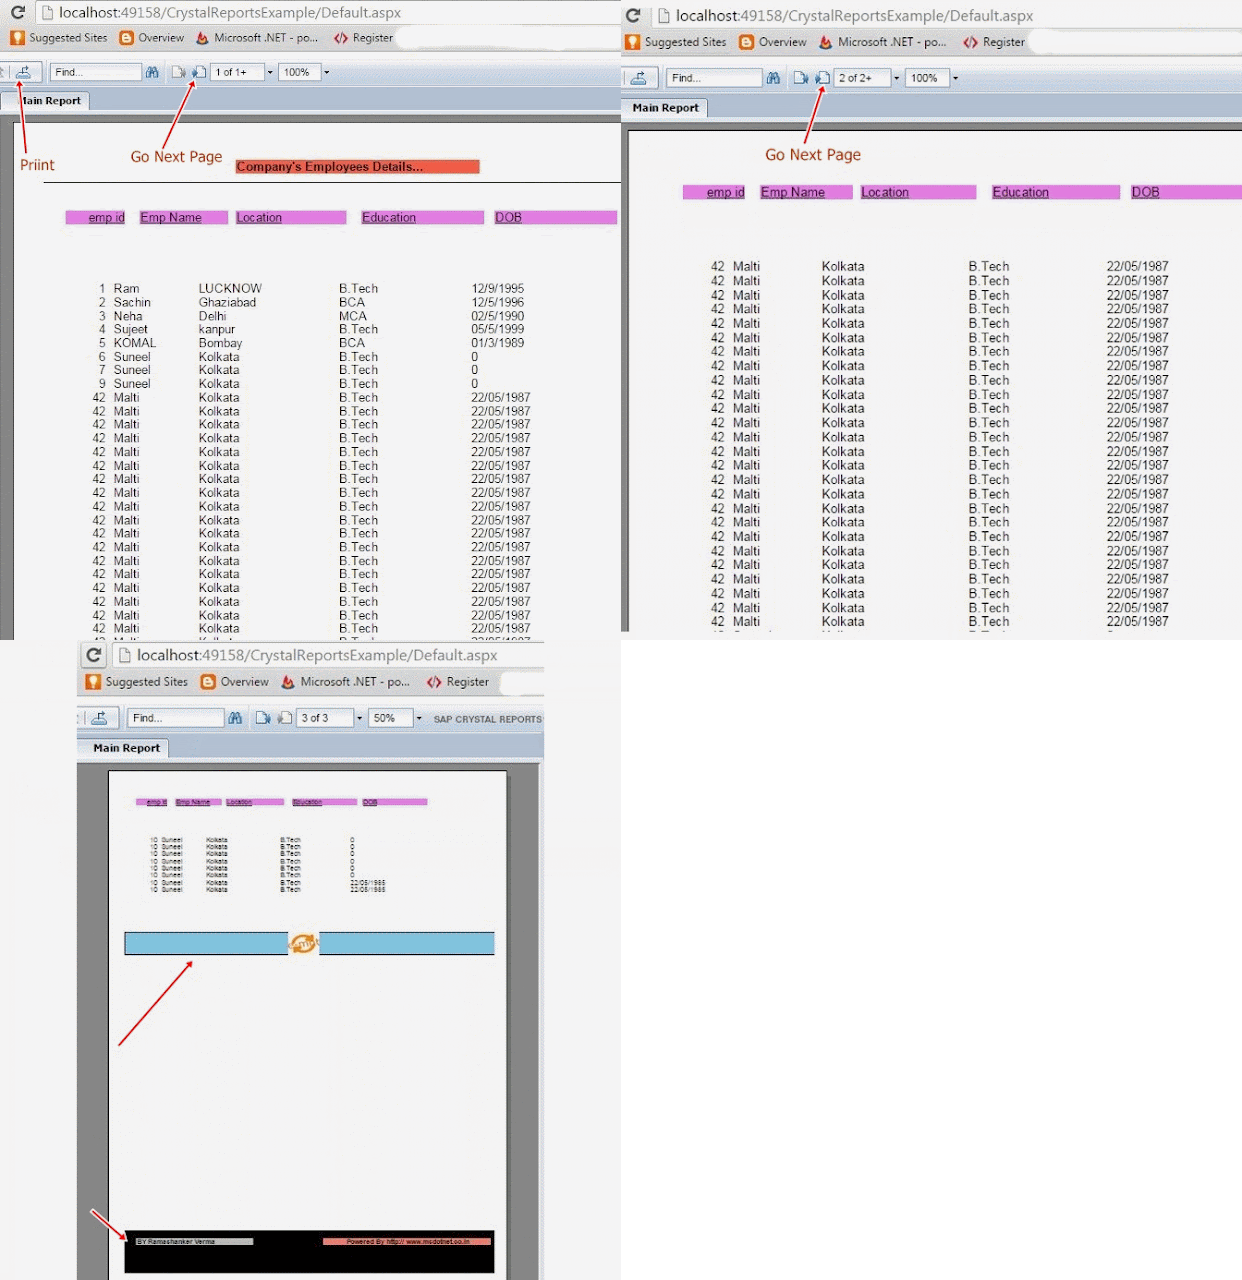
Introduction :- The CrystalReportSource Control and the CrystalReportViewer Control are used to control the functions and appearance of the report. Let's create Reports that shows the details of employees of a company. If you have not installed crystal Report in your visual studio,you can install it first from here .
Before creating crystal Report ,We have to create a employee table in your SQL Database and insert some entries also. If you are facing problem in creating table in sql server . You can see below link.
There are some steps to implement this whole concepts as given below:-
Step : 1 First Create a employee table in your sql database and insert some values also. If you haven't created before.
Step : 2 Now open your visual studio -->File --> Add --> New --> Web site --> Select ASP.NET Crystal Reports Website -->OK as shown below:-
Step : 4 After Press OK button --> A CrystalReport1.rpt file will be opened--> You will see five sections.Each sections has different functionality--> You can understand each sections from below image as shown below:-
Step : 5 Now open Field Explorer window --> Right click's on Database Fields --> Select Database Expert as shown below
Step : 6 Now Create New Connection-->Click on OLE DB (ADO) --> Select Microsoft OLEDB Provider for SQL Server -->Press NEXT Button as shown below:-
Step : 7 After Press Next Button connection information popup box will be opened --> First checked Integrated security check Box --> After that select your Database (master) --> Write your SQL Server Name as shown below --> Press Next Button.
Note :- You can see your SQL Server Name in below Image.
Note :- Your table will be shown after click on top Arrow in selected table list as shown in step 8.
Step : 9 Now Drag and Drop your column's into Section 3(Details) as shown below:-
Step : 10 Now Open Toolbox --> You can drag and drop controls also according to Your Requirements --> I have done this as shown below:-
Step : 11 Now Open Default.aspx page from Solution Explorer -- Open Source file --> You can see your database connections in below codes:-
<%@ Page Language="C#" AutoEventWireup="true"  CodeFile="Default.aspx.cs" Inherits="_Default" %>
<%@ Register TagPrefix="CR" Namespace="CrystalDecisions.Web" Assembly="CrystalDecisions.Web, Version=13.0.2000.0, Culture=neutral, PublicKeyToken=692fbea5521e1304" %>

<html xmlns="http://www.w3.org/1999/xhtml" >
<head runat="server">
    <title>Untitled Page</title>
</head>
<body>
    <form id="form1" runat="server">
    <div>
        <CR:CrystalReportViewer ID="CrystalReportViewer1" runat="server" AutoDataBind="True"
            Height="1039px" ReportSourceID="CrystalReportSource1" Width="901px" />
        <CR:CrystalReportSource ID="CrystalReportSource1" runat="server">
            <Report FileName="CrystalReport1.rpt">
            </Report>
        </CR:CrystalReportSource>

    </div>
    </form>
</body>
</html>
For More..
Download Whole Application
DOWNLOAD


0 comments:
Post a Comment